
How To Create A Free Vendor Form For Property Management
As you scale your property management portfolio up, you’ll find that you get bills coming from all directions. There are a few problems you can solve by creating a vendor form that all new vendors are required to submit.
Vendors send their bills to the person they’ve been communicating with instead of straight to the Accounting Department. If your internal staff member isn’t on top of their email inbox, several days could pass before the accountant actually gets the bill. In some cases, several months go by and the vendor wonders why you still haven’t paid their bill yet.
Vendors mail the bills to the office. Their system is capable of emailing bills, but no one ever gave the vendor the Accounting Department’s email address.
Vendors are missing information. In a rush to get all contractors paid, many small business owners forget to collect important tax documents like the W9. This creates a problem in January when you have to file 1099s for contract work. You can always ask later, but after you’ve paid the bill, you’ve lost all leverage in your request.
Vendors don’t know that AppFolio and Buildium are capable of direct depositing the money into their bank account. So by default, they get checks in the mail. When the checks get lost, they call you asking where’s the money? Then you have to void it in the system, put a stop payment through your bank, and cut the check again. Direct depositing is safer and more convenient for both parties.
This is where the Vendor Form comes in to reclaim your limited time! And the process looks like this:
→ You can create a free vendor form using JotForm that asks for all the information you need from vendors.
→ Embed the form on your website.
→ Create an email template you’ll use over and over again telling new vendors they need to fill out their information on www.yourcompany.com/vendor before you pay their first bill.
→ Both you and the vendor receive an emailed copy of their submission.
→ Upon receiving the email, enter their information as a new vendor in AppFolio or Buildium.
Today, I’ll teach you how to create the vendor form and also embed the form on your website.
Step 1
Create a free account on JotForm. The free account allows you to create 5 forms and receive 100 submissions per month. It is more than enough for your needs. When you’re on the free plan and you embed the form on your website, the JotForm logo appears at the bottom of the form. The logo is unobtrusive and the appearance does not affect the practicality of the process we are creating. I do not recommend paying $24-$29/month unless you need more than 5 forms. And if you want to pay, wait until they are running a sale.

Jotform Free Plan
Step 2
Create a new form with the “Start From Scratch” and “Classic Form Layout” options.

Create A Form From Scratch

Select Classic Form Layout
Step 3
By default, the title of the form is “Form” so change the title of the form to “Vendor Form.”
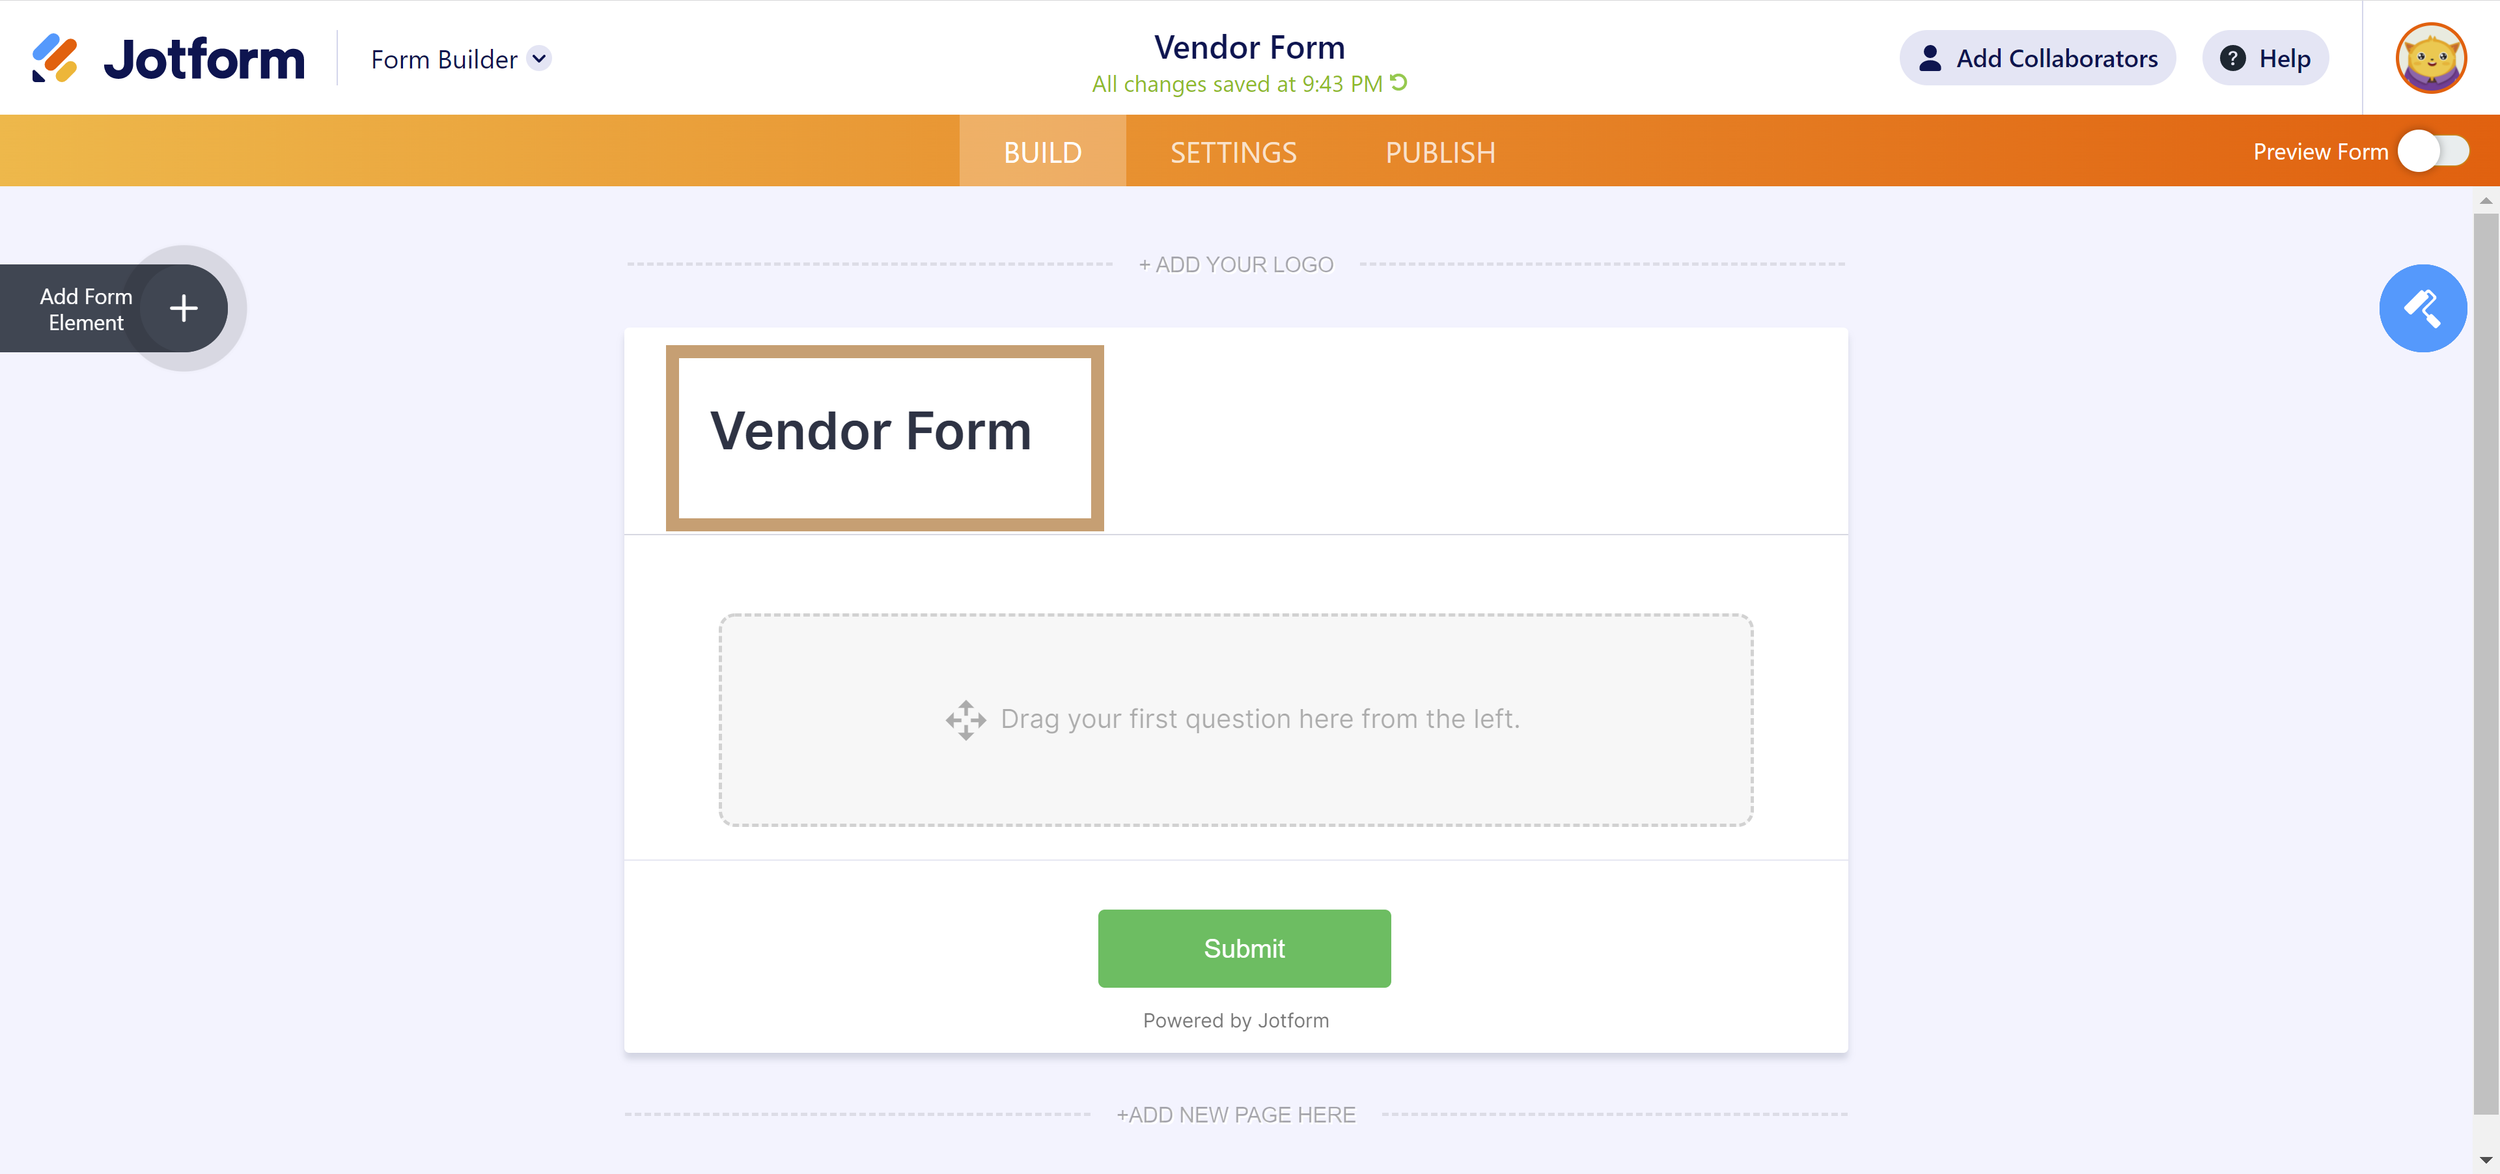
Vendor Form Title
Step 4
Create your form in this order. All of this is based on the information we can type into AppFolio and Buildium.
| Jotform Form Element | Form Label | Required? |
|---|---|---|
| Full Name | Full Name | Yes |
| Short Text | Company Name | No |
| Short Text | Website | No |
| Phone | Phone Number | Yes |
| Email Address For Payment Notifications | Yes | |
| Address | Mailing Address | Yes |
| Single Choice | Preferred Payment Method* | Yes |
| Number | Bank Routing Number** | Yes |
| Number | Bank Account Number** | Yes |
| File Upload | W9 Upload | Yes |
| File Upload | Proof of Insurance Upload | Yes |
| Paragraph | Payment Policy | Yes |
*Create two multiple choice options, one is “Check In The Mail (X Business Days), and the other is “Direct Deposit (X Business Days).”
**Click Properties > Advanced > Hide Field
Step 5
Create the conditional logic.
The bank information fields are hidden. We are going to create a conditional logic to show those fields only if the vendor chooses the Direct Deposit option.
Go to Settings > Conditions> Show / Hide Field
Then create this logic:
IF Preferred Payment Method
STATE Is Equal To
VALUE Direct Deposit
DO Show Multiple
FIELD Bank Routing Number, Bank Account Number
Click Save.

Conditional Logic for Bank Information
Step 6
Set up the email notifications.
Go to Settings > Emails
The notification should go to the Accounting Department email address.
The autoresponder is a copy of the submission and the recipient should be the vendor’s email address.
Send test emails to make sure they look good.

Email Notification Settings

Email Notification Bonus Tips
Step 7
Publish the form.
The way you publish it on your website depends on how your website is hosted. It is normally found in Publish > Platforms > Search.
For example, AnnieYangFinancial.com is hosted on SquareSpace, so I would choose the SquareSpace option.

Now you should have your free vendor form up and running. The next step is to write your standard email template whenever new vendors send their first bill. I will teach you how to do this in a future article. That’s it for now!
If you have any questions related to streamlining your real estate or property management accounting processes, please book a free consultation with Annie Yang Financial Corporation.